
Introducing the pen tool and drawing straight lines
There are two main uses for the pen tool - drawing vector shapes and
drawing paths. Vector shapes are useful for the sort of illustration
that I do and you need the "shape layers" option for this. Paths are
useful for other things, such as accurately cutting out elements from a
photograph. We'll look at shape layers to start with.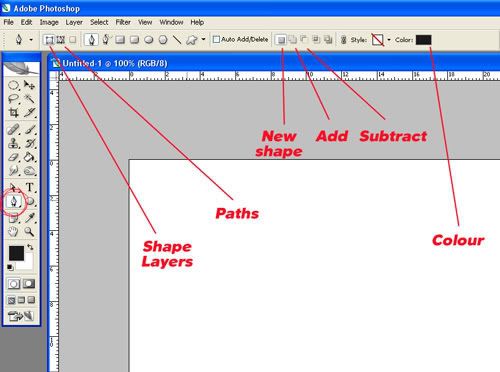
Have a look at the pen tool options. Set the options as above.
We want to create a new shape, so ensure that the "New shape" option is selected.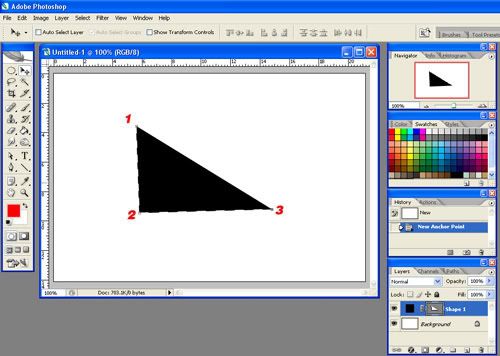
In a new window (CTRL-N to get a new window), click your mouse where you want corners of your new shape to be. I have chosen to draw a rough rectangle and have made my points at 1, 2 and then 3.
The shape will be coloured according to the "colour" box. To change this, click on the colour box and use the colour picker to select the shade you require.
You'll notice that Photoshop draws straight lines between the points. To complete the shape click on the first point again and the line will close.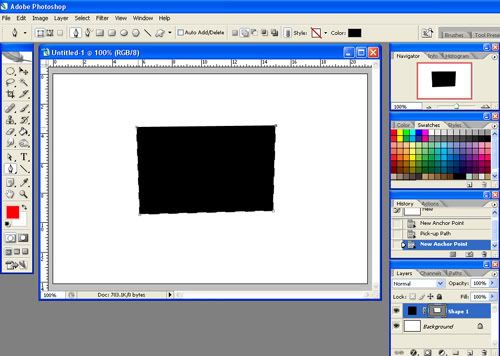
I made one more click, then clicked again on my first point to make a rectangle. Ta da! First shape!
If the lines are not where you want them to be, you can use the direct selection tool to move the points as I have done below.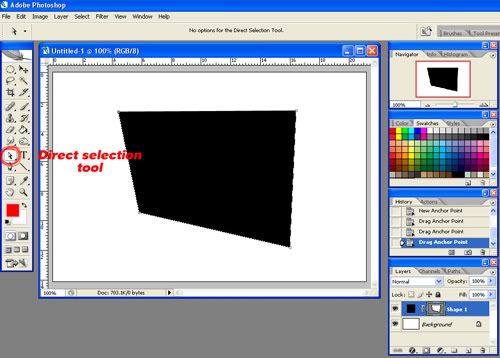
Congratulations, you have made your first vector shape in Photoshop and are well on the way to starting to create beautiful illustrations. Have a play and get a feel for the pen tool - it may seem counter-intuitive at first, but it's probably the most powerful tool that Photoshop has. It's well worth mastering.